Introducing our new AI-powered NFT creator
Creating NFTs has never been easier and fun!
How to Deploy An NFT Collection on MultiversX (AKA Elrond)
Fernando Segre
November 30, 2022
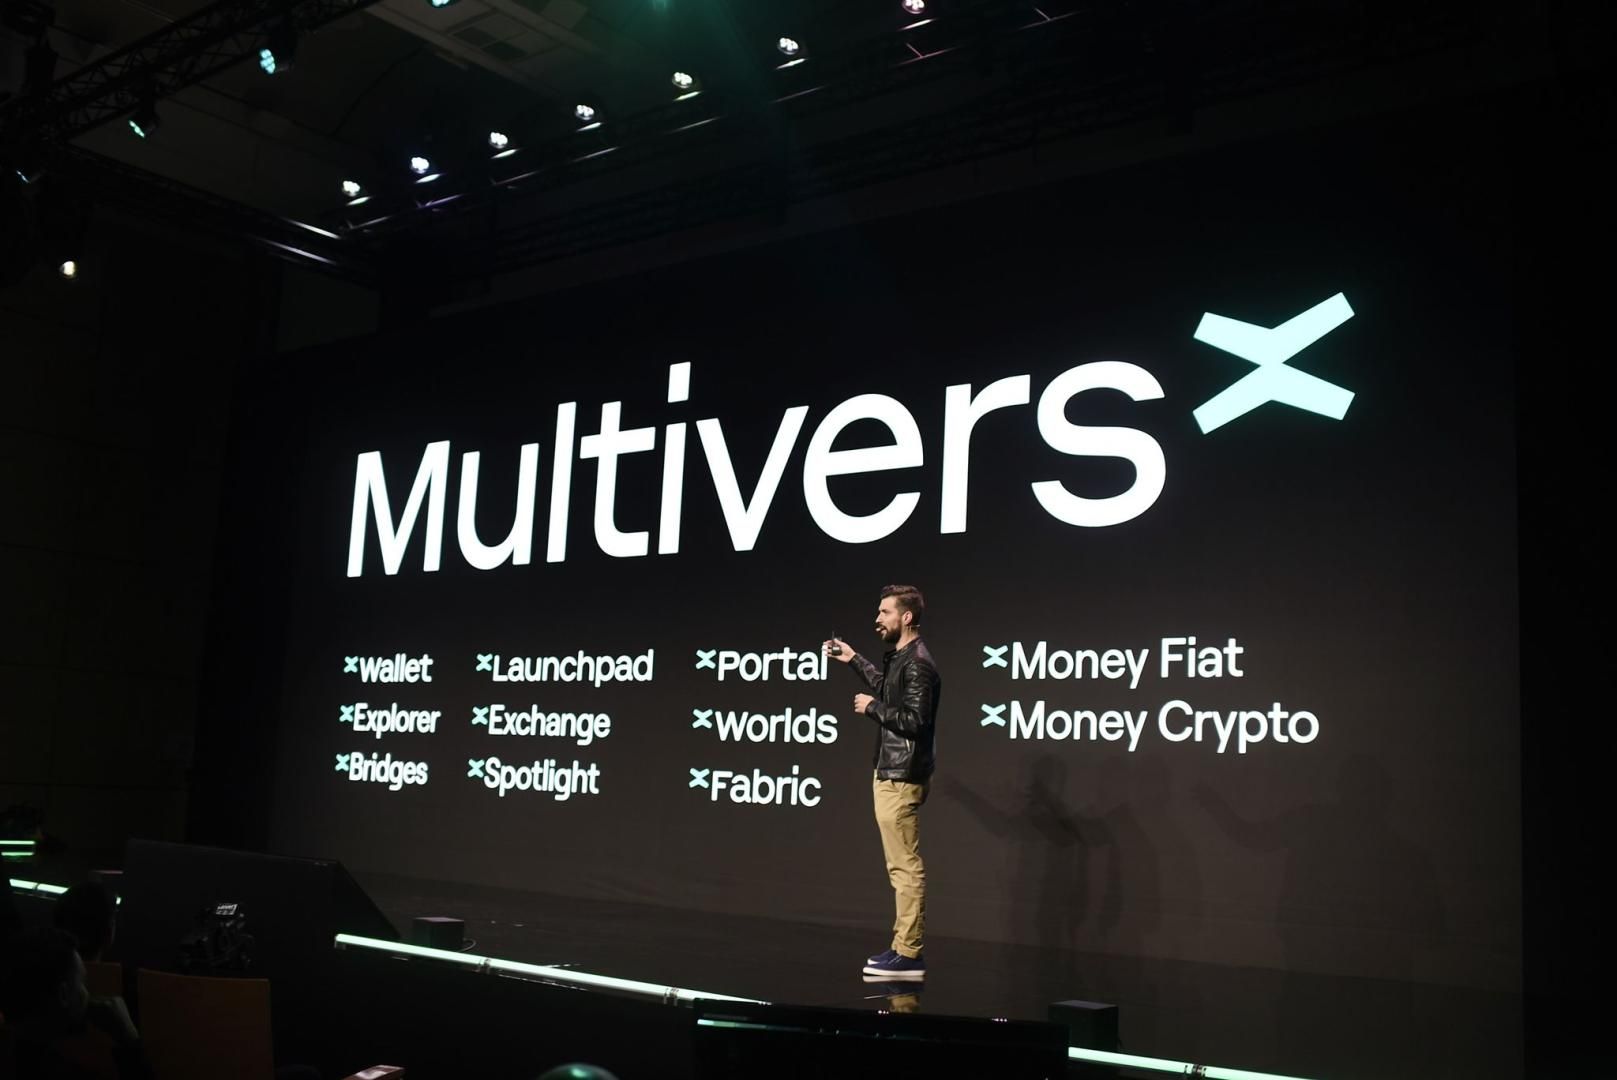
Elrond Network becomes MultiversX with a huge impact on scalability for decentralized applications. Learn how you can easily create NFTs on the most scalable blockchain in the industry without writing a single line of code.
Why MultiversX?
Is it because of the top-tier infrastructure?
Or because it's the blockchain with the highest Transaction Per Second?
Or because of the most legitimate network of professionals and valued ventures built using this technology?
All of these and many other reasons have led us to join forces with the fastest-growing and most scalable blockchain in the industry. To learn more about MultiversX, read this technical overview on what it is and how it is being implemented across various industries and governments, or learn more on their official website.
One Mint Launchpad has created a seamless experience for generating and deploying generative digital art collections as Non-Fungible Tokens with its in-house tool NFT Art Generator. As the first and most used no-code tool, One Mint has helped thousands of creators and brands to interact with blockchains without the hassle of coding.
This walkthrough is the go-to article to generate, deploy and promote your NFT project on MultiversX/Elrond. Before jumping into the creation and management of your project, make sure you have:
- A MetaMask Wallet
- A Maiar Wallet (or any MultiversX/Elrond compatible wallet)
- Some eGLD tokens on your Maiar Wallet to deploy your Smart Contract
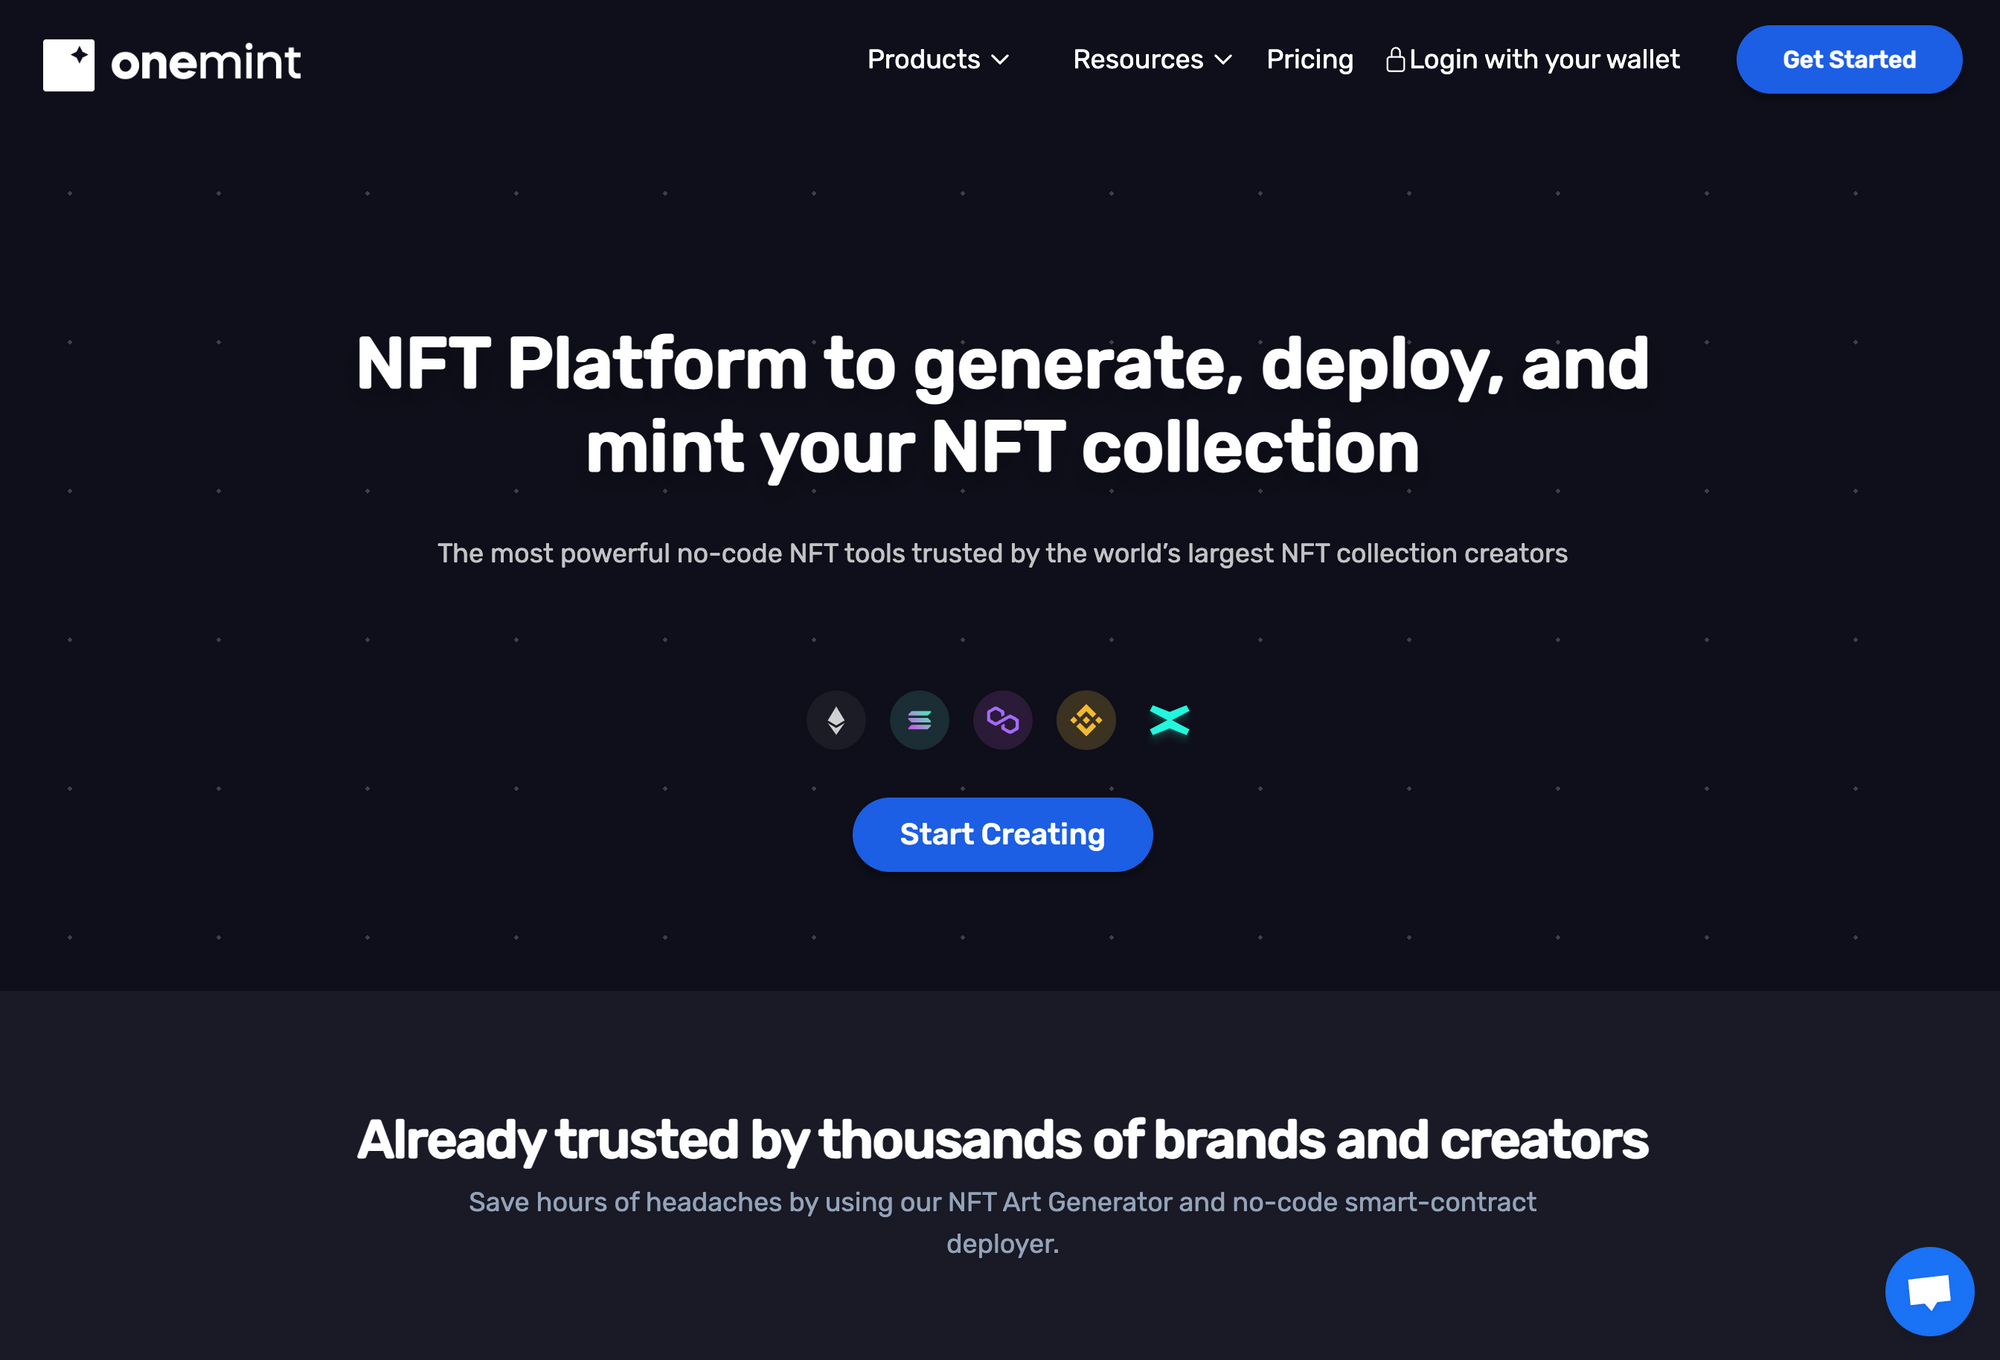
Step 1: One Mint Launchpad
Go to One Mint Launchpad and click on the top right button "Get Started" to start your NFT project. This will take you the in-house tool NFT Art Generator, the first and most used NFT Generation tool.
Step 2: NFT Art Generator
The NFT Art Generator is the first NFT launchpad in the blockchain industry and is the generator with the most collections deployed across the top-tier blockchains. You will find the application to be easy to use by following the standard or advanced generation modes. Make sure you log in on the top right corner with your Metamask or Phantom Wallet.

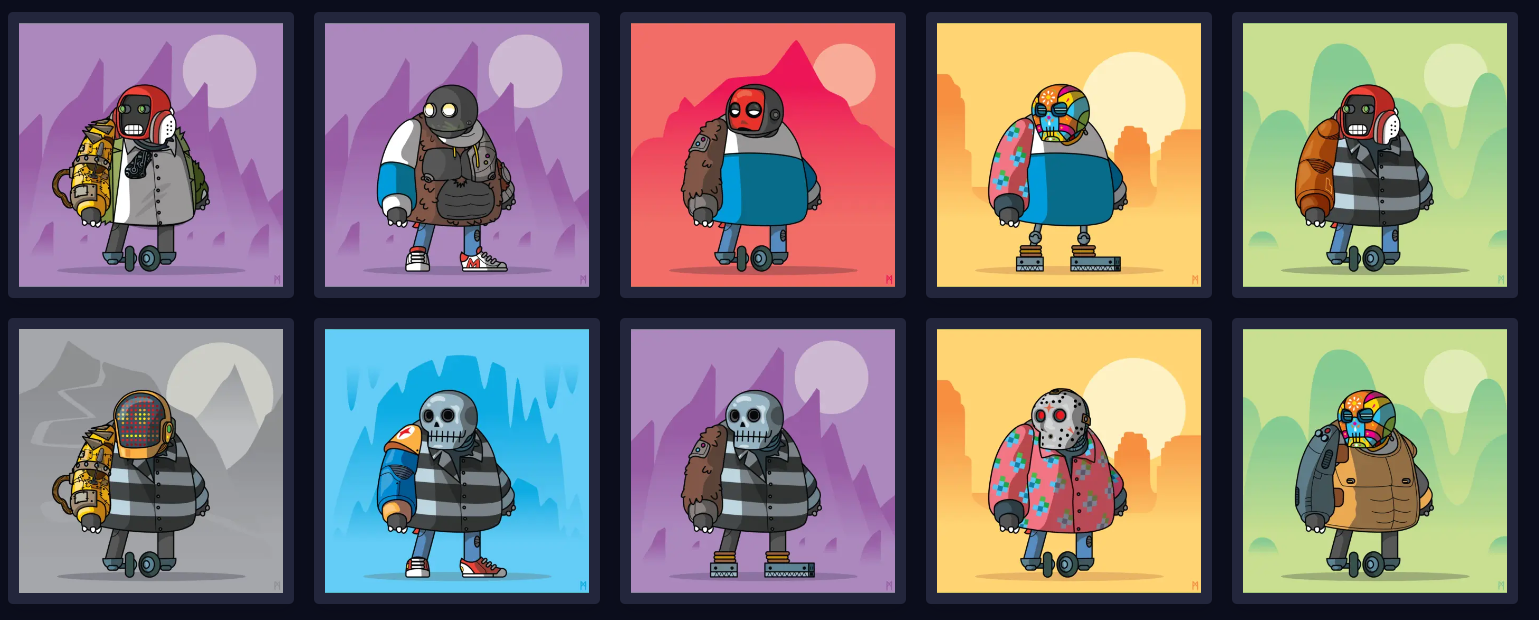
For a generative art project, you must have your artwork built in layers, following the industry's best practices. One Mint's NFT Generation allows users to give specific rarities to each layer. The most classic example would be a PFP (profile picture NFT) or a character, in which each layer beholds its own traits and metadata. For example, dividing the artwork from its background layer to the characters as its face factions and body parts, allowing a more controlled (or random) generation of generative outcomes.

As an artist, or if you are working with an artist, you should always keep in mind the proper proportions and alignments for each trait. At the end of your layer uploads, you should have a folder tree each containing a specific layer with all of its variants.
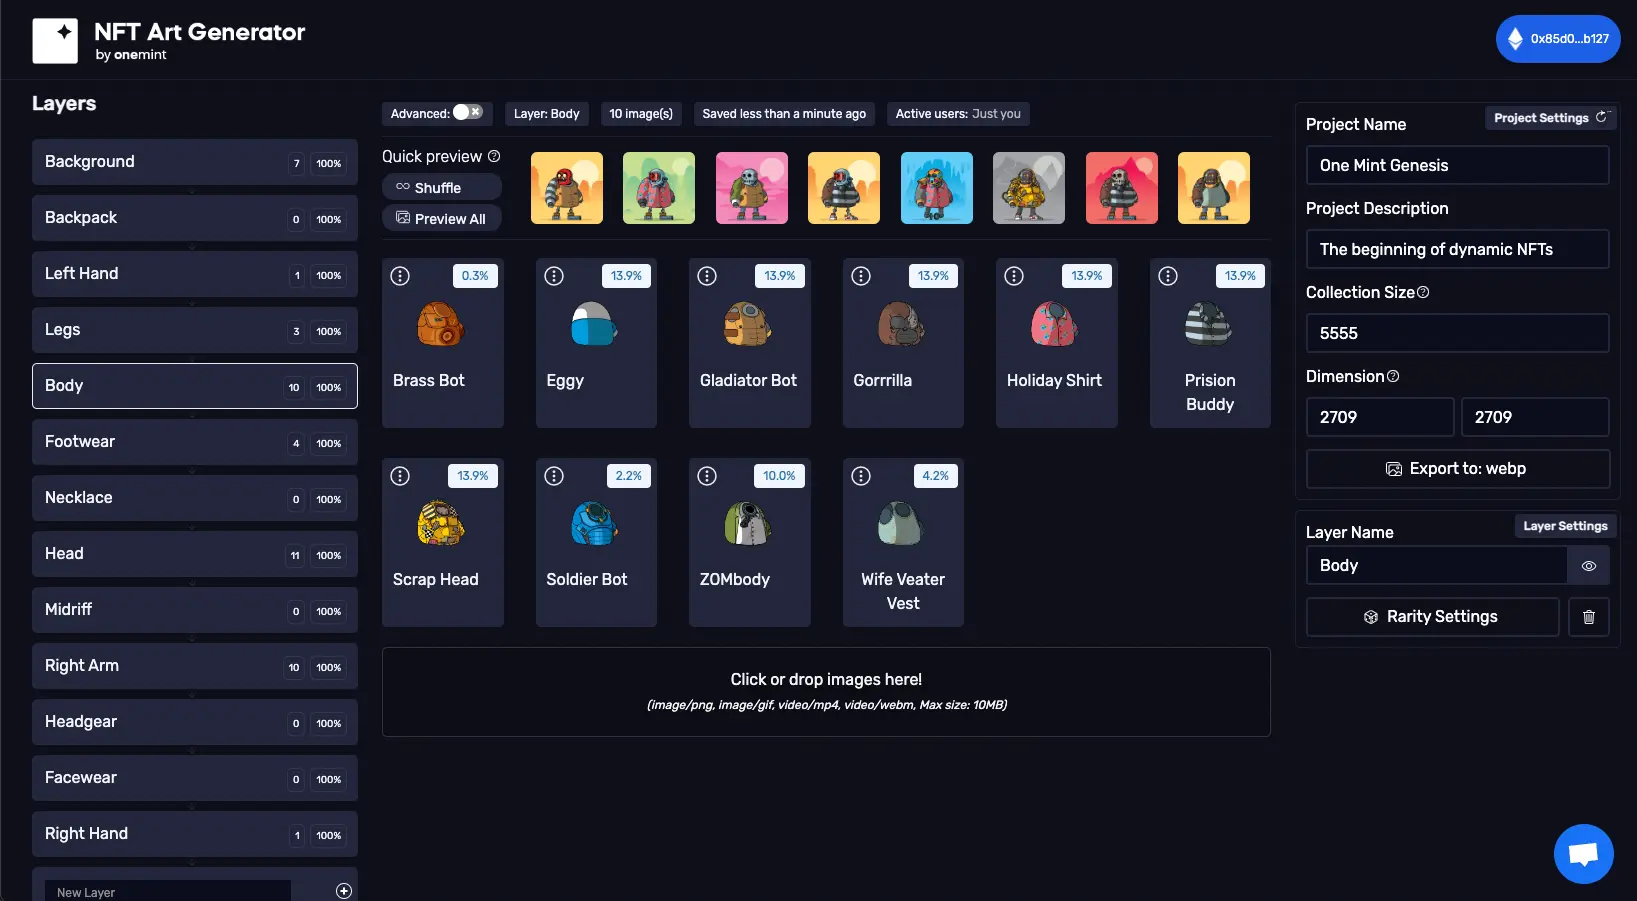
You may dig further into the advanced options and assign specific rarities to each layer or trait, as well as to set up your project's specifications such as the amount of NFTs that will be generated (project size), the dimension of the final pieces, and much more.
Step 3: Generate and Sign Up
In this step, you will be generating your NFT collection with its corresponding metadata, for later uploadoad into the decentralized image cloud and blockchain deployment. To see how much it will cost, you can calculate the cost based on your project's collection size at https://onemint.io/pricing/.
To generate, make sure you set up your project's name and information, collection size (right sidebar9 and start the generation process (left sidebar under the layer box). After generating and completing the email sign-up field, your ZIP File will be downloaded with all of your artwork with its metadata.
Step 4: Smart Contract Deployment
Now that your NFT Collection is generated - congratulations! - it is now time to deploy your Smart Contract onto MultiverX (Elrond Blockchain). Make sure you are on your account page.
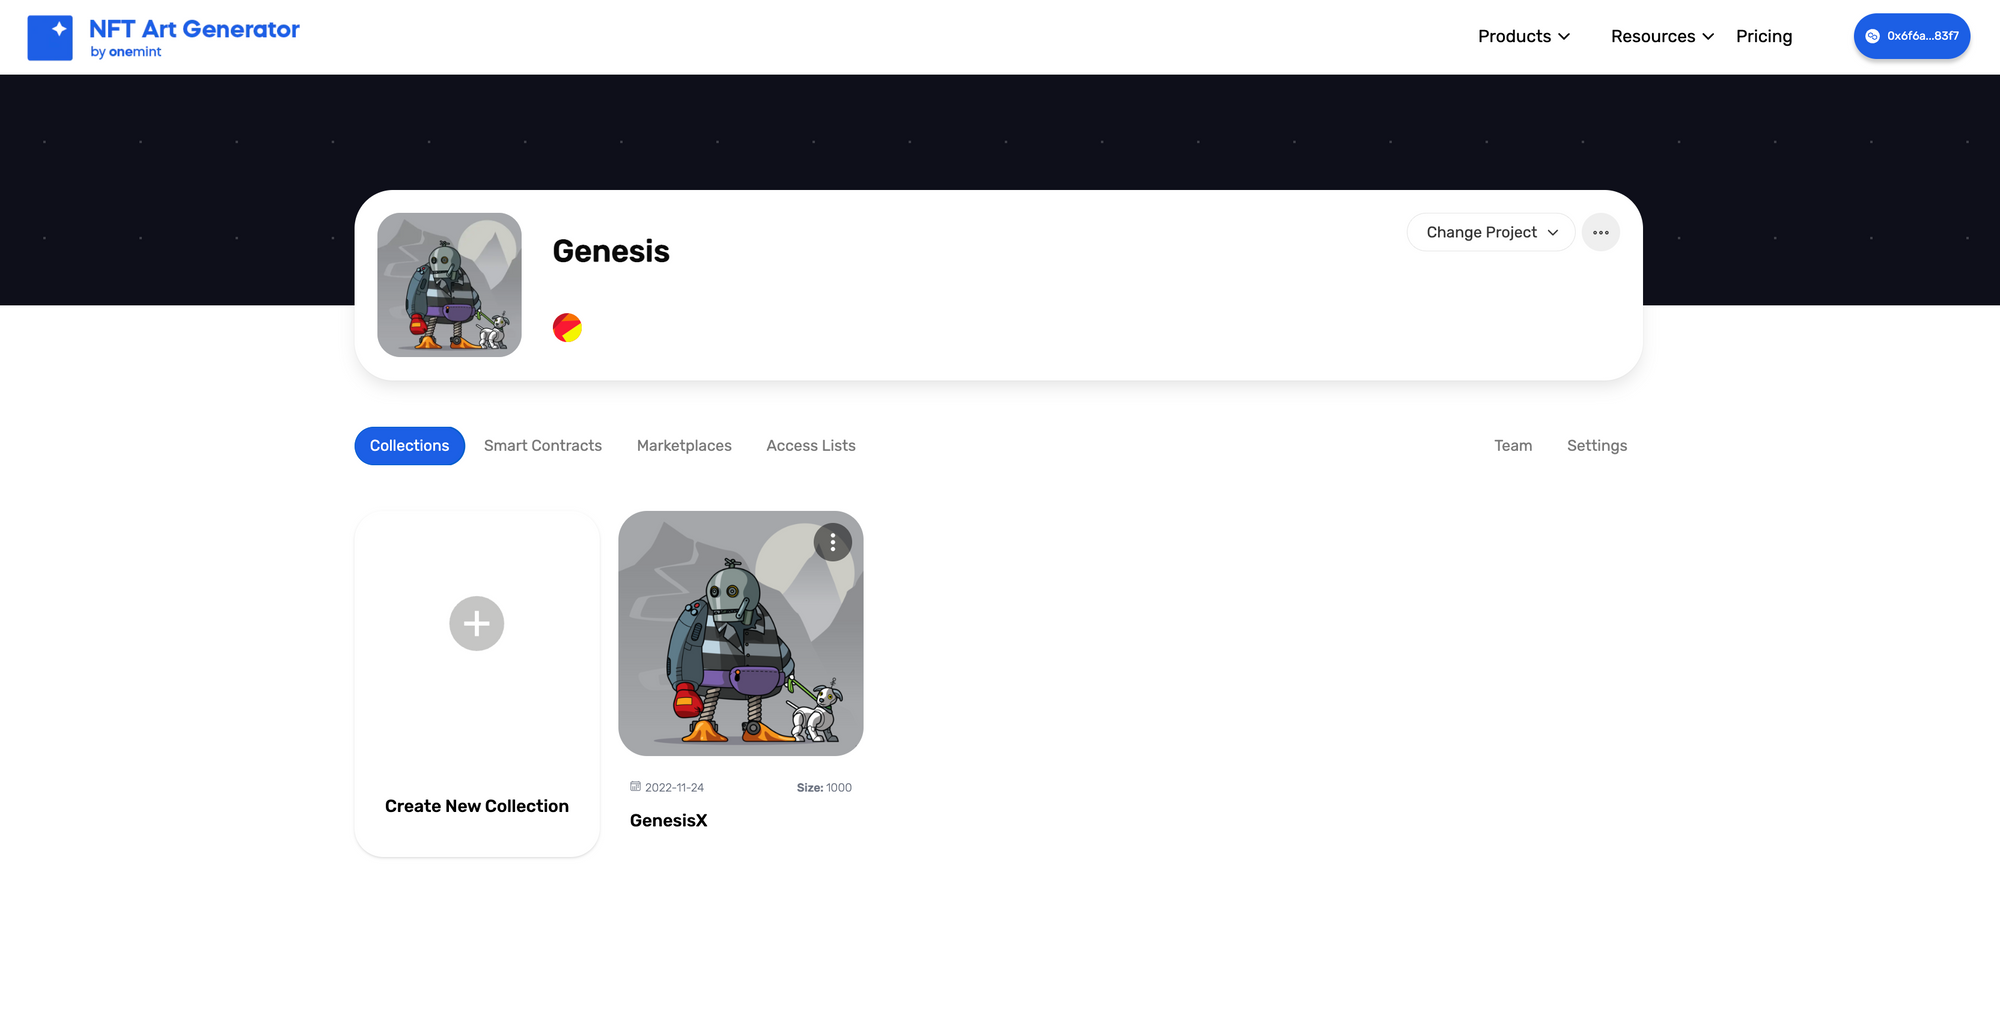
After the NFT Generation, go to your Account Dashboard where you'll be able to manage your project, deploy smart contracts, create access lists to whitelist users, join pages, and connect social media accounts.
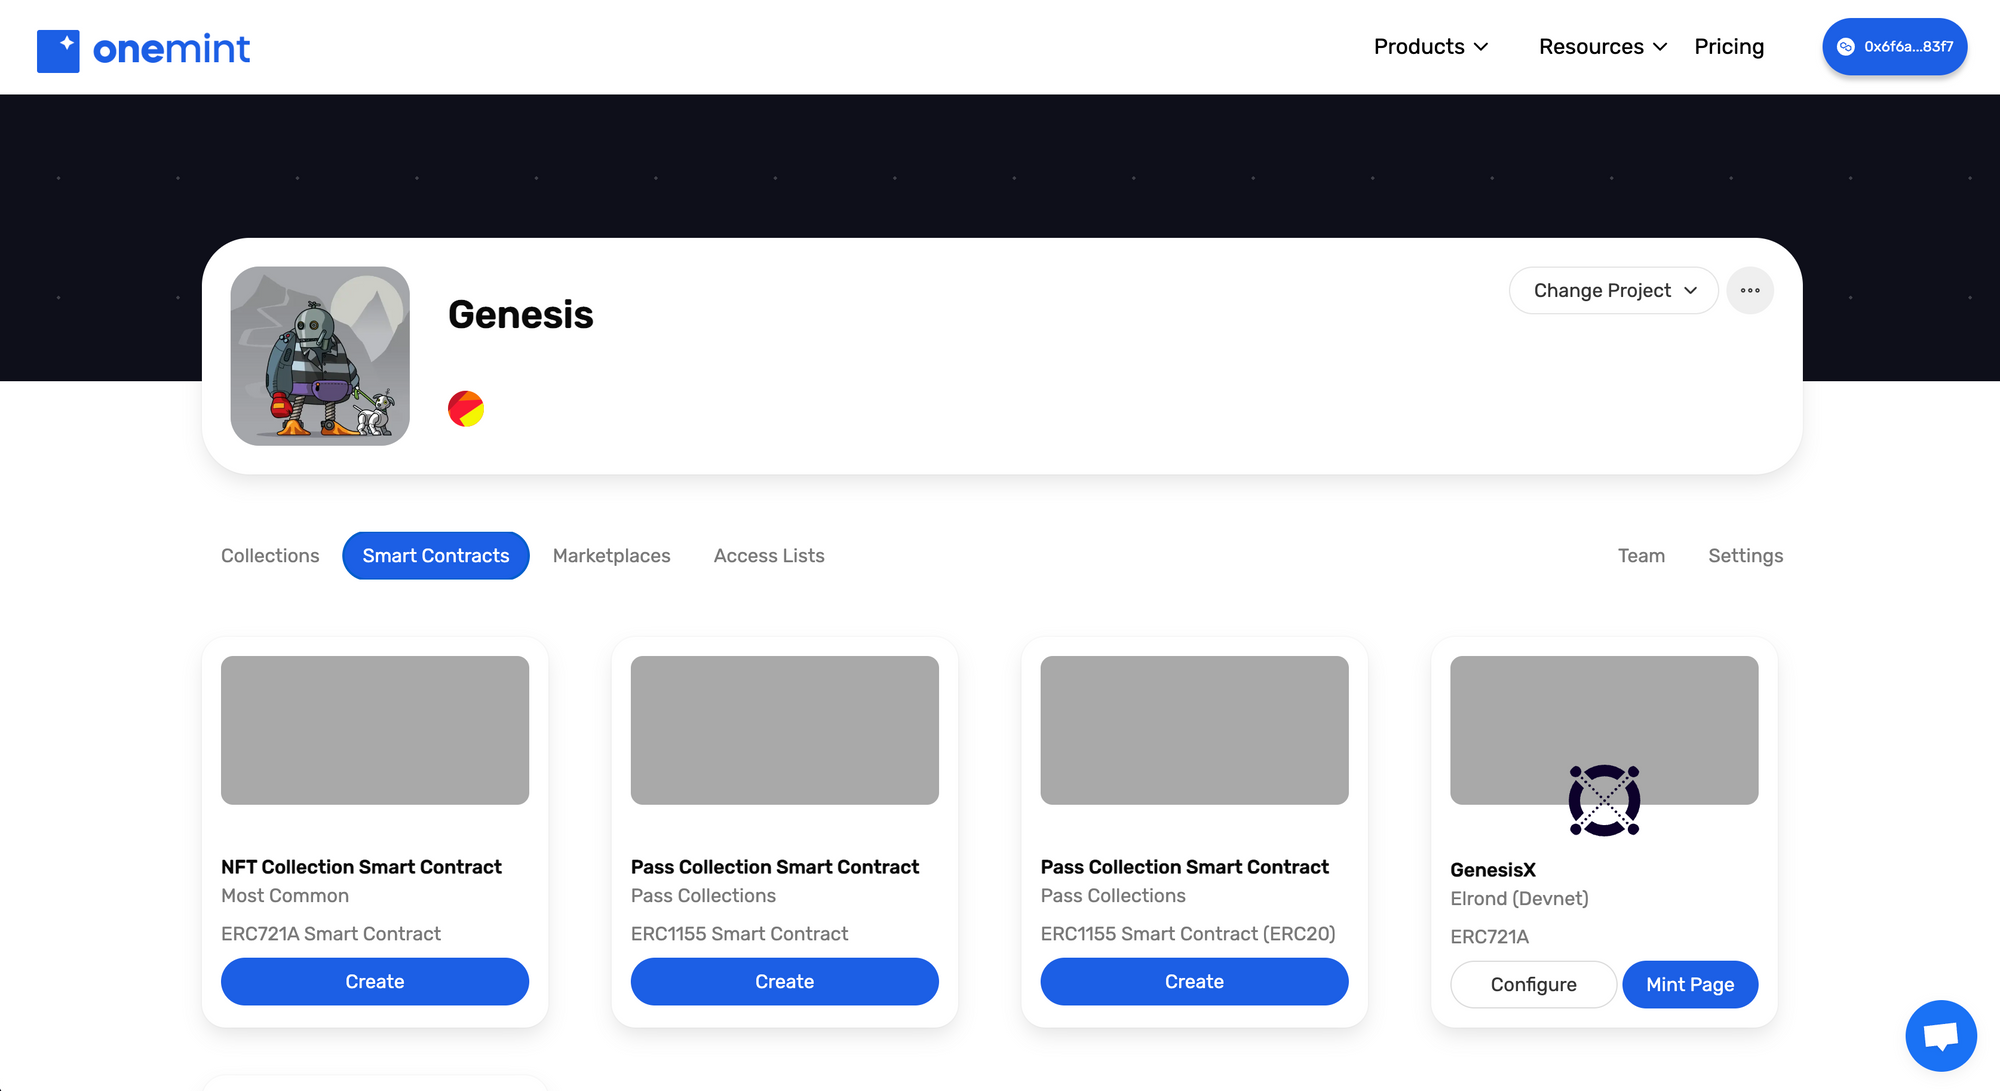
First, we will deploy the collection into the blockchain by going to the Smart Contracts Tab and selecting the NFT Collection Smart Contract:
You will be asked to select your blockchain, which should be Elrond Mainnet* (we strongly suggest you try the testnet first, to make sure when deploying to the production (the live blockchain) everything is set according to your requirements.
*Make sure you have some eGLD on your Maiar Wallet. With the equivalent of 3-5 USDT it should be more than enough to cover the gass fee.

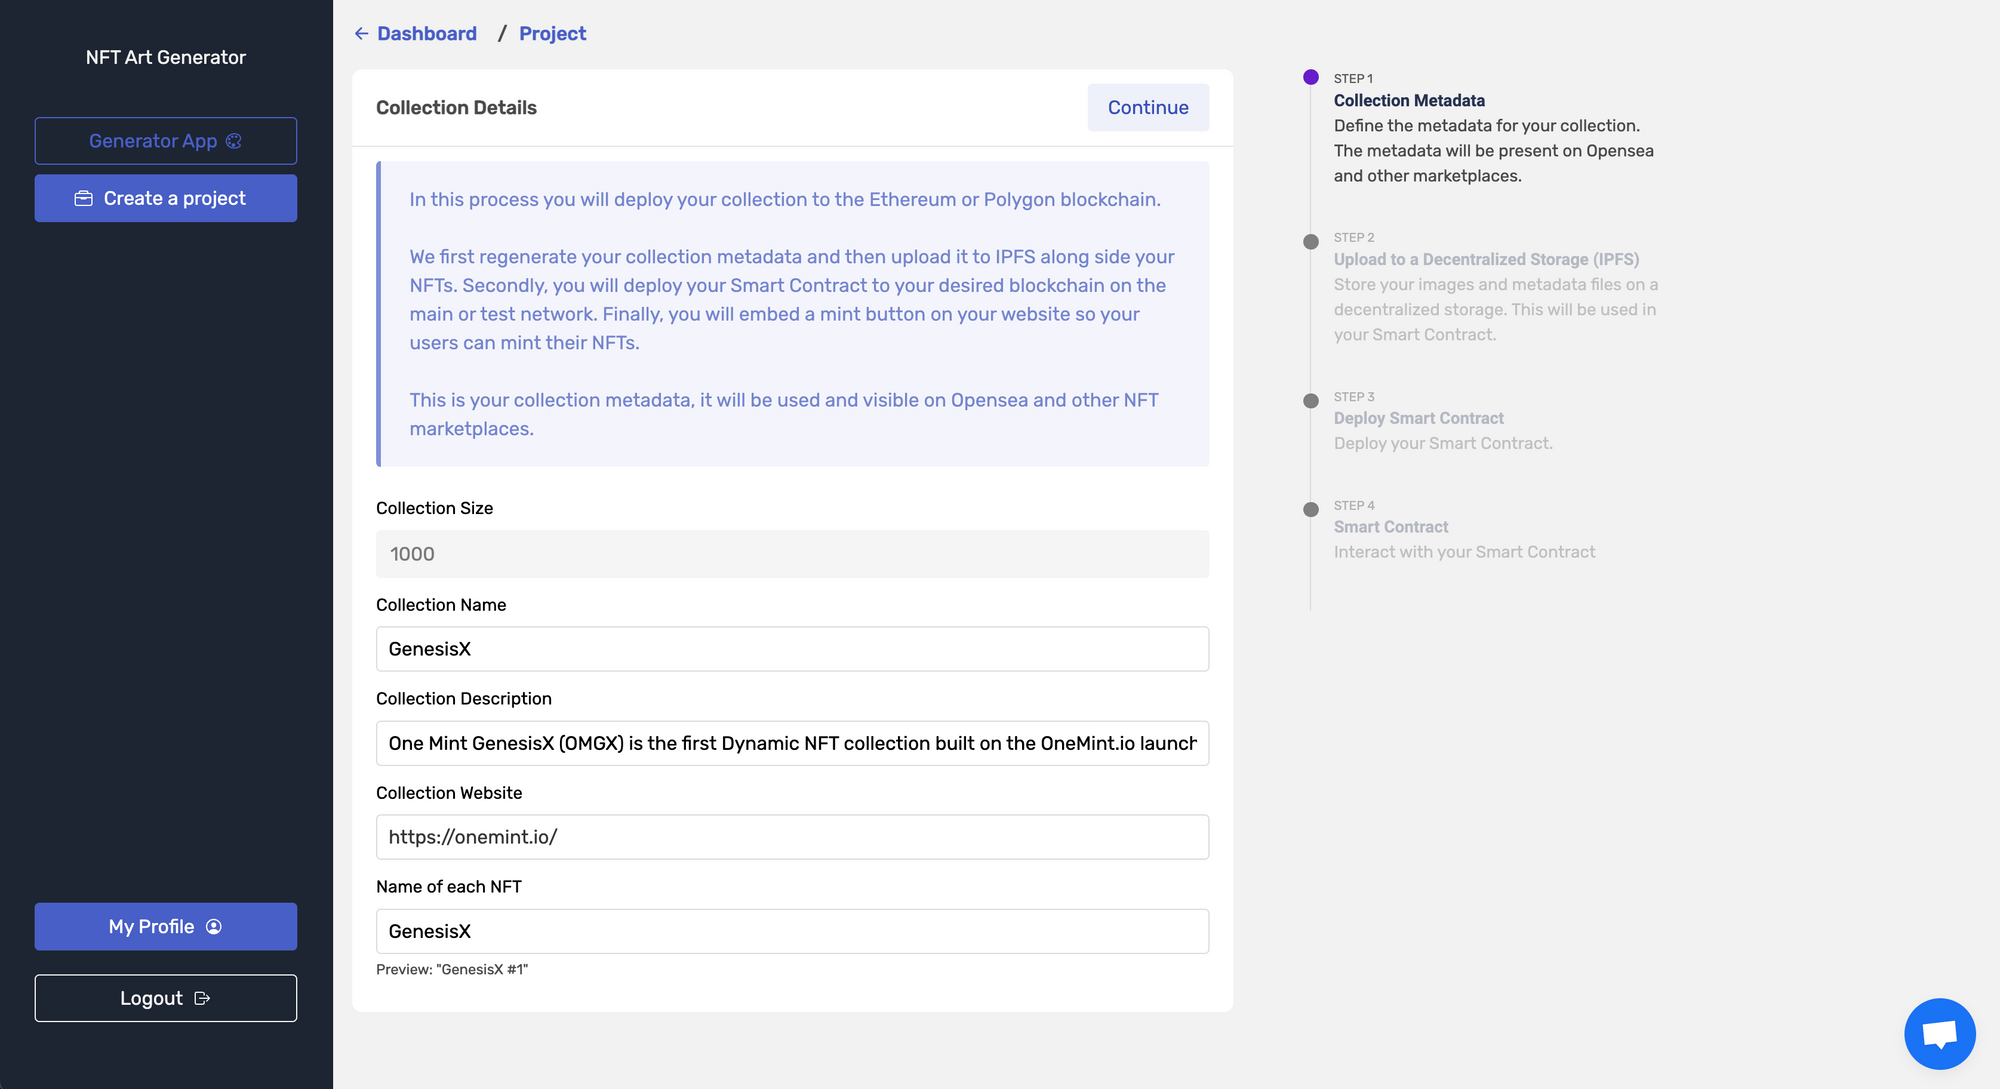
Follow the steps to complete the setup - it is important you review your fields and make sure all the information is final. Remember, what's uploaded into blockchain stays in there, immutably, forever!
✓ Make sure you dot your i's and cross your t's!!
Once done, you'll be able to continue to the next step where your artwork will be uploaded to IPFS (Industry's Standard Decentralized Storage) - note it may take a while to upload depending on your collection size.
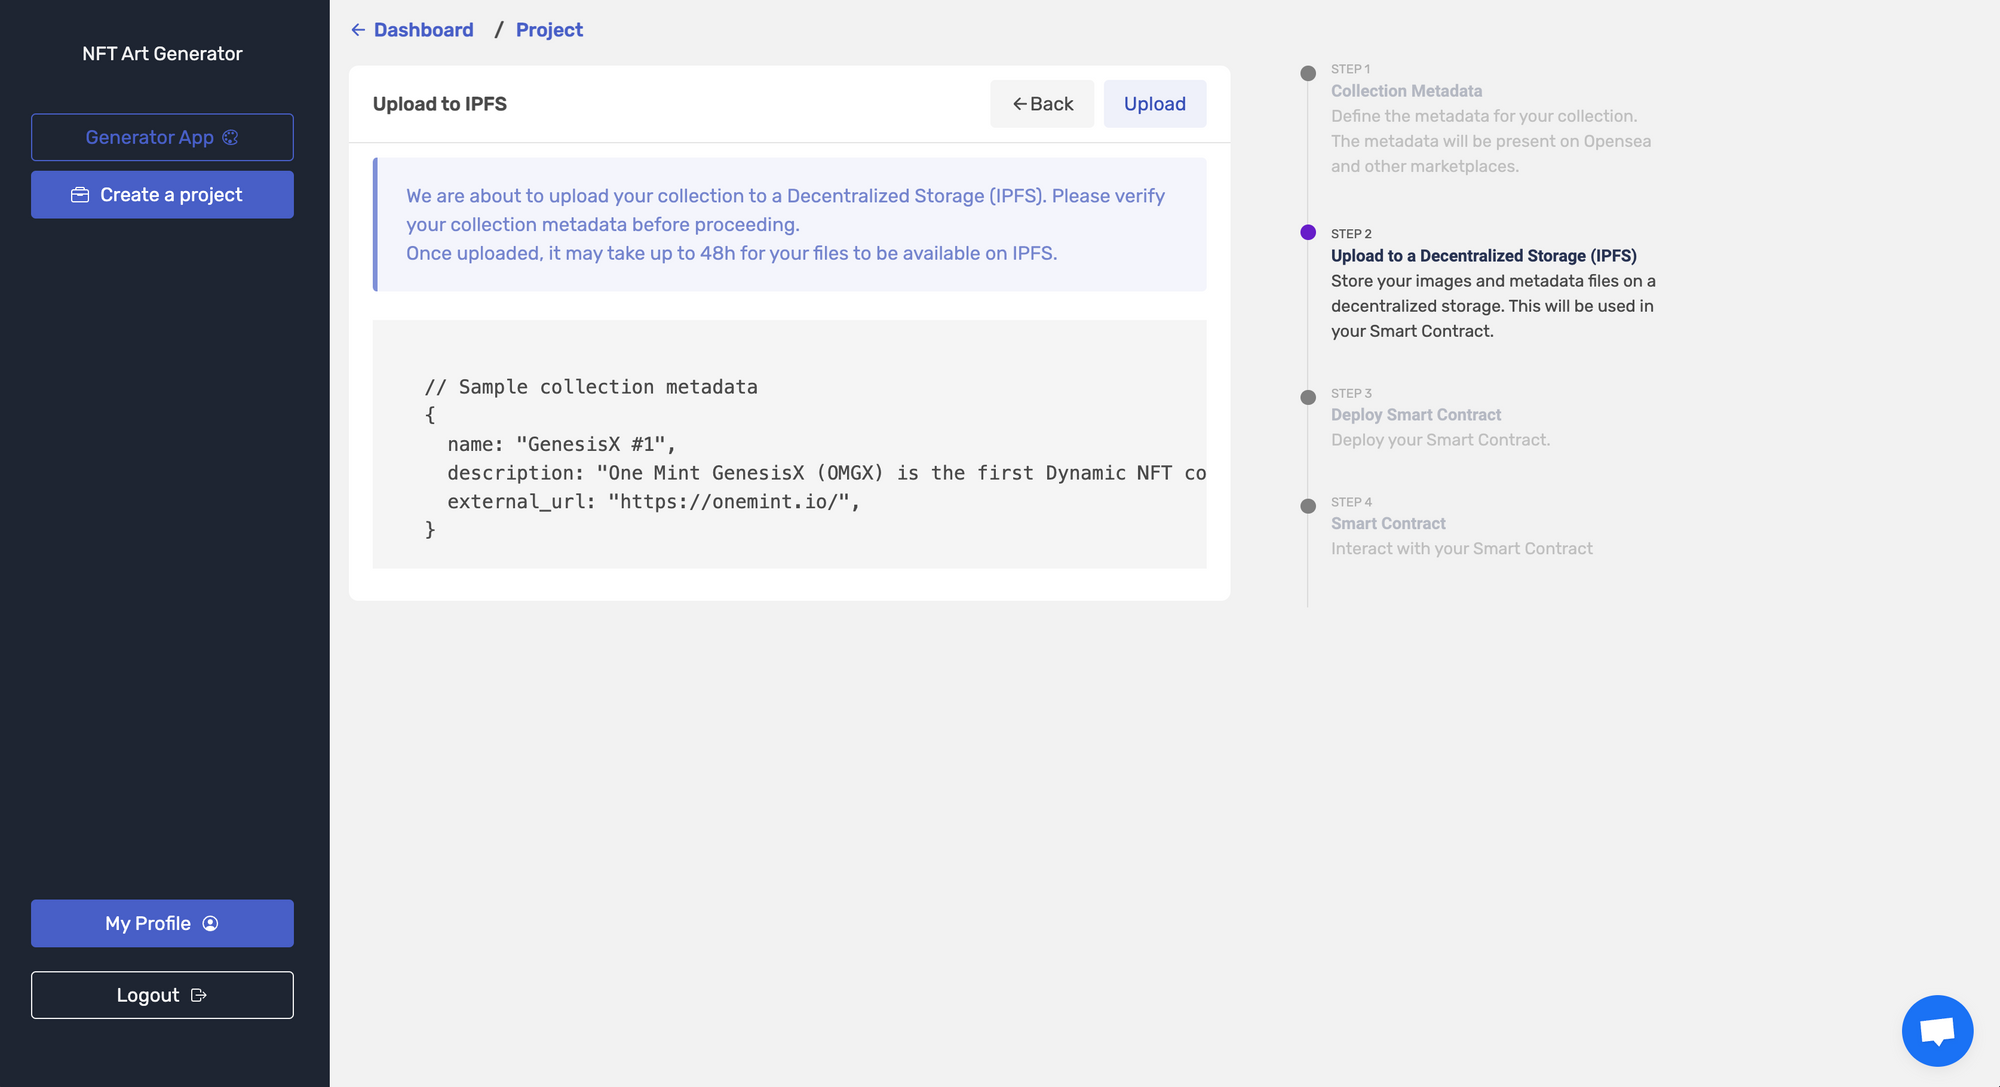
No more coding or hassling to have a local node to connect to IPFS, just click on upload to start the process...
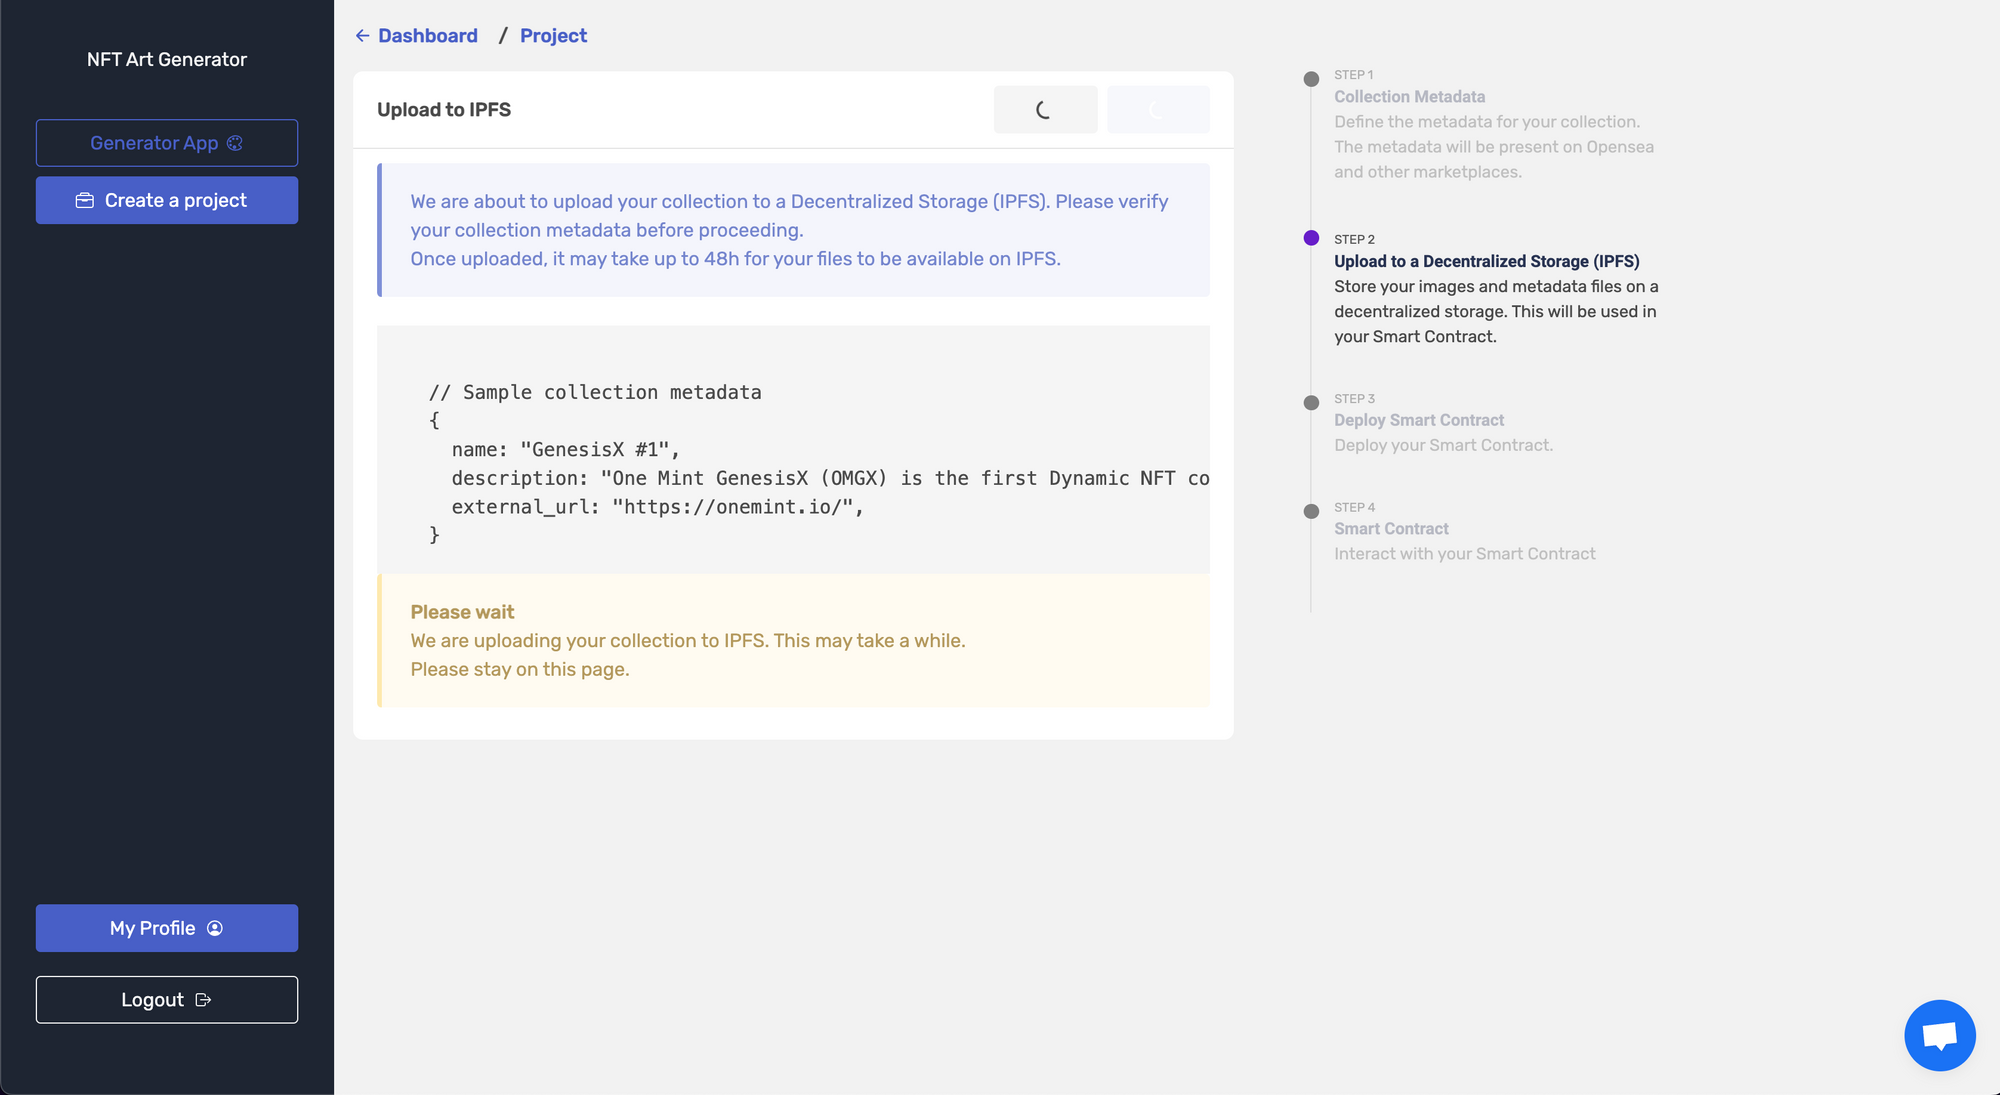
... and wait for your collection to be uploaded into IPFS. Once uploaded, you'll be prompted to verify your Smart Contract and set your royalties.

You are almost finished, on the following step you will be able to connect your Maiar Wallet or any MultiversX/Elrond compatible wallet and deploy your Smart Contract and with just a few clicks you'll be all set to start deploying! - Make sure you are logged in to your Maiar Wallet and approve the transaction, it should cost the equivalent of 2 to - 4 USDT.
🎉🎉 Congratulations! 🎉🎉
Your NFT Collection is now deployed to the most scalable blockchain in the industry! You may now set your collection live, update the NFT's prices, and much more.
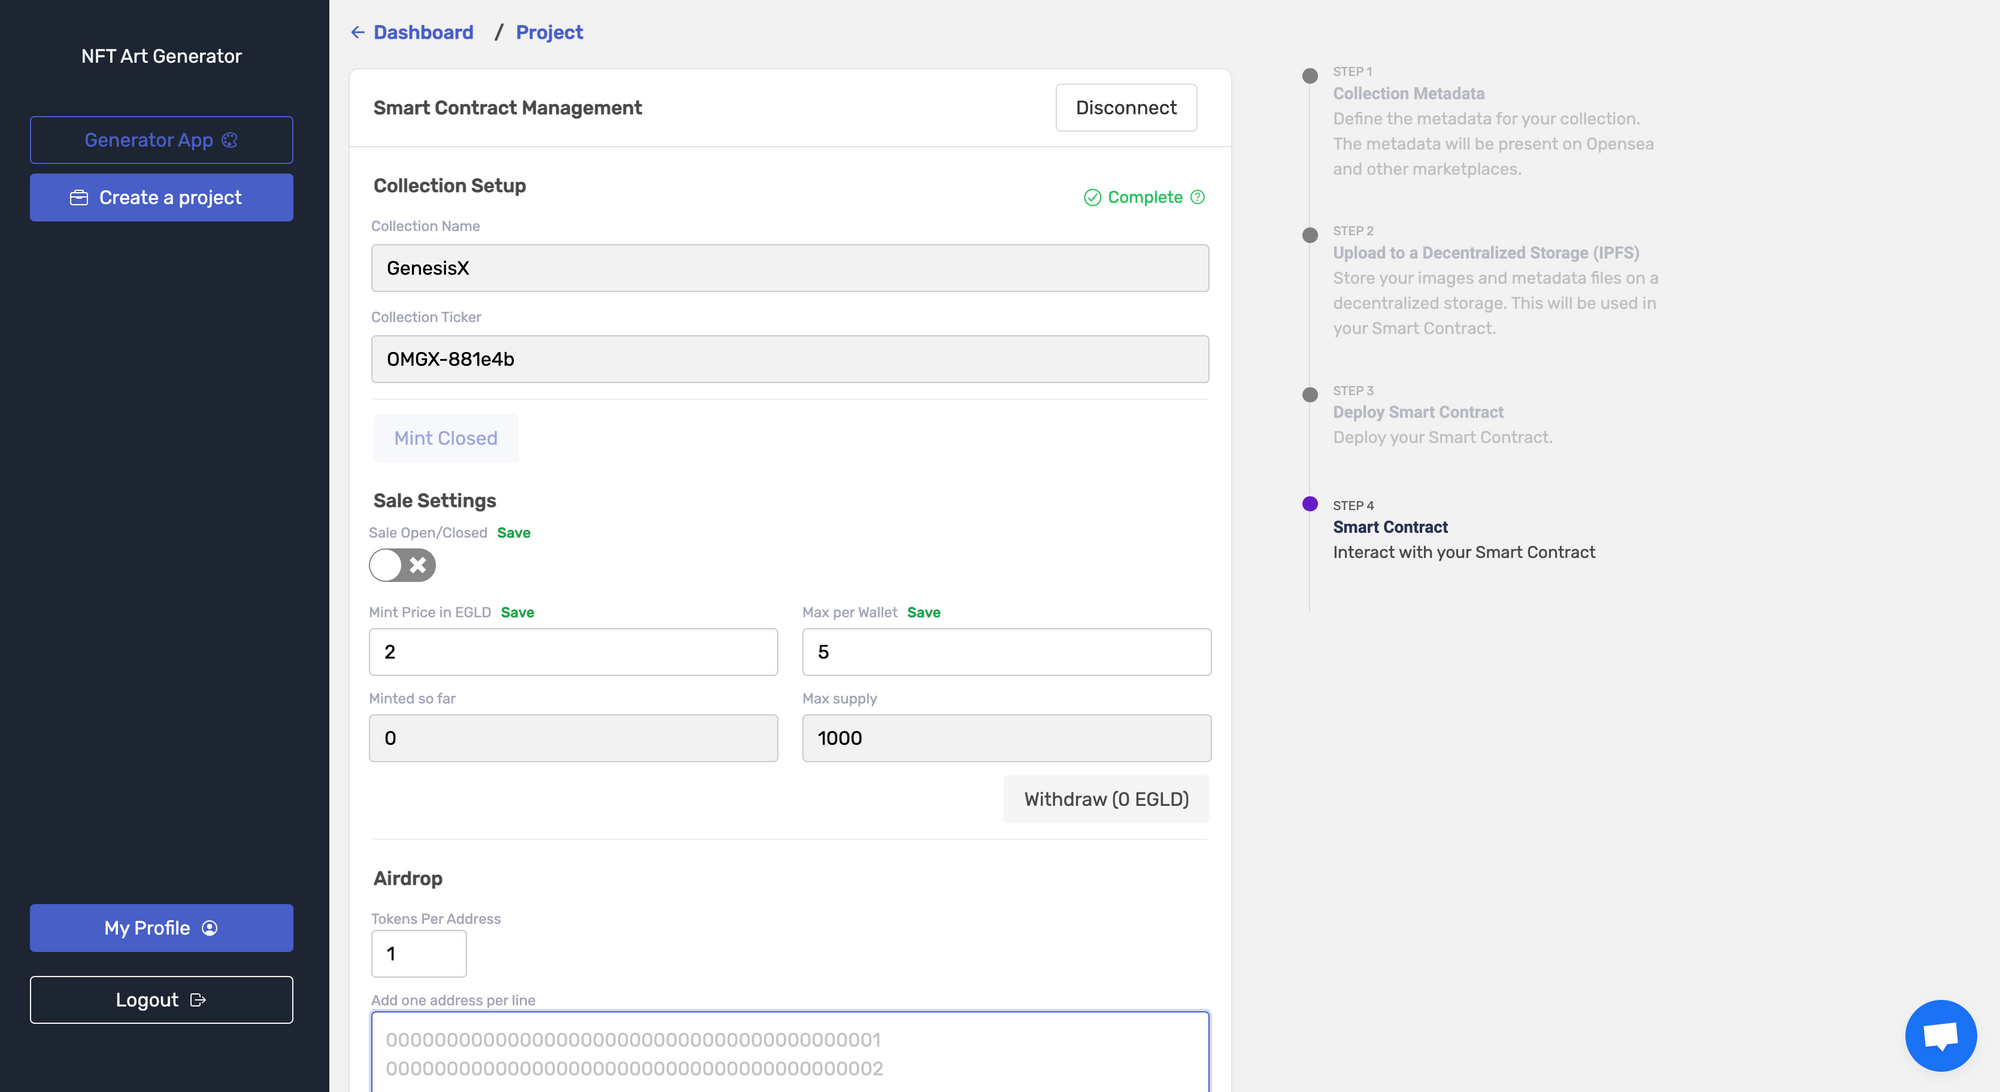
Bonus Step 4: Setting a Whitelist
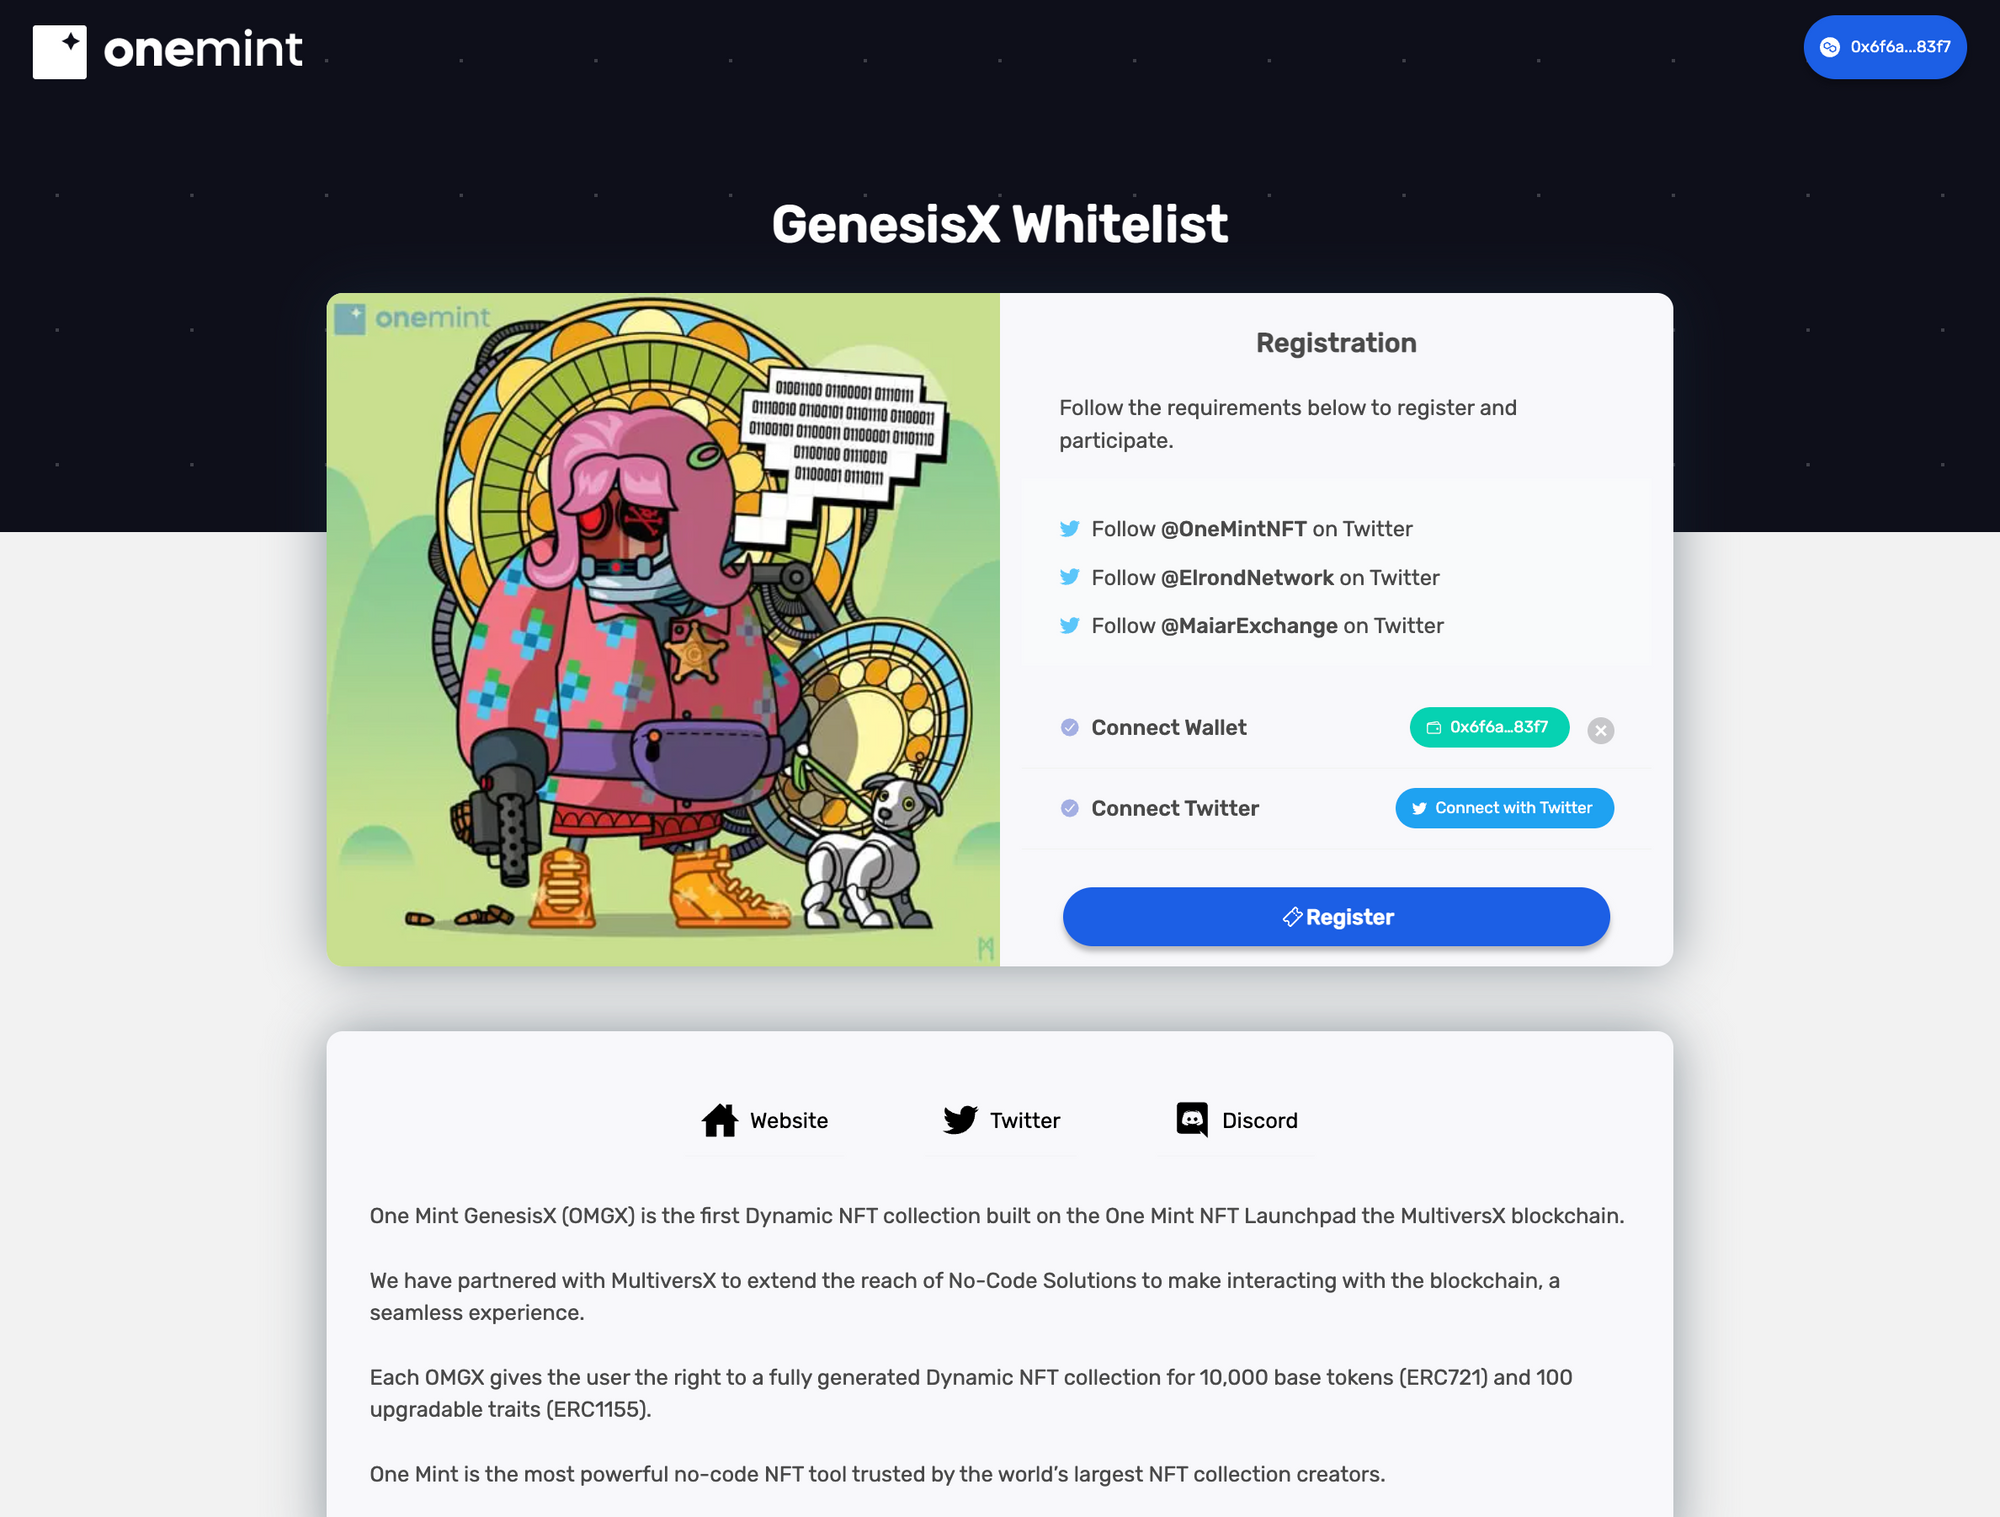
A good launch strategy implies you create a whitelist to reward users with either airdropped NFTs or discounted rates for early-bird users. With One Mint Launchpad, you can use the whitelist manager to create your own whitelist minting page.
Require users to follow Twitter accounts, join your Discord server, and give a brief description of your project. You should end up with a unique whitelisting page:
Step 5: Setting up your Project Landing Page
One Mint provides an embeddable mint button via a script that you may upload to your custom website, or you may even create your own landing page (Team Pass Required - go to https://onemint.io/pricing to learn more).
Creating a landing page and having a place to showcase your project has never been easier in the blockchain space.
Early-Bird Promotion:
If you read through the whole walkthrough, you are now ready to easily create, generate, and deploy your very own NFT project without no coding hassle! The One Mint and MultiversX partnership is just the beginning of a no-code solution on scalable and sustainable technology. To celebrate with are offering a 10% with the MULTIVERSX code.
When generating your collection apply MULTIVERSX and a 10% discount will be applied to your NFT Generation. For more information, insights and recommendations, we suggest you join our Discord Server where most questions are answered by our team. See you next time!
Browse other posts